

How To Change The Heater Core On A 2008 Chrysler Town And Country Van
The purpose of a heater control valve is to control the flow of engine coolant to the heater cadre, located inside the passenger compartment. When the heater or defroster is turned on, warm engine coolant passes through the heater core. Here a fan forces air across the surface of the heater cadre and so into the rider compartment where the warm air is felt.
During times when the air conditioner is in employ, the heater control valve closes, preventing engine coolant from entering the heater cadre. The issue is less heat in the rider compartment, allowing the air conditioner to piece of work more efficiently.
Follow the step-by-step guide below for directions for replacing a faulty heater control valve.
- Note: Information technology is important to remember that this is a general guideline. Therefore, be certain to consult your factory service manual for complete and detailed instructions specific to your vehicle.
Function 1 of 1: Replacing the heater control valve
- Alert: Be sure the vehicle's engine is cool to prevent burns to the skin. It is also always a good thought to wear safety glasses to prevent any contaminants from getting into the eye.
Materials Needed
- Distilled or demineralized water
- Drain pan
- New heater command valve
- New engine coolant
- Pliers
- Ratchet set
- Screwdrivers
- Spill-gratuitous funnel
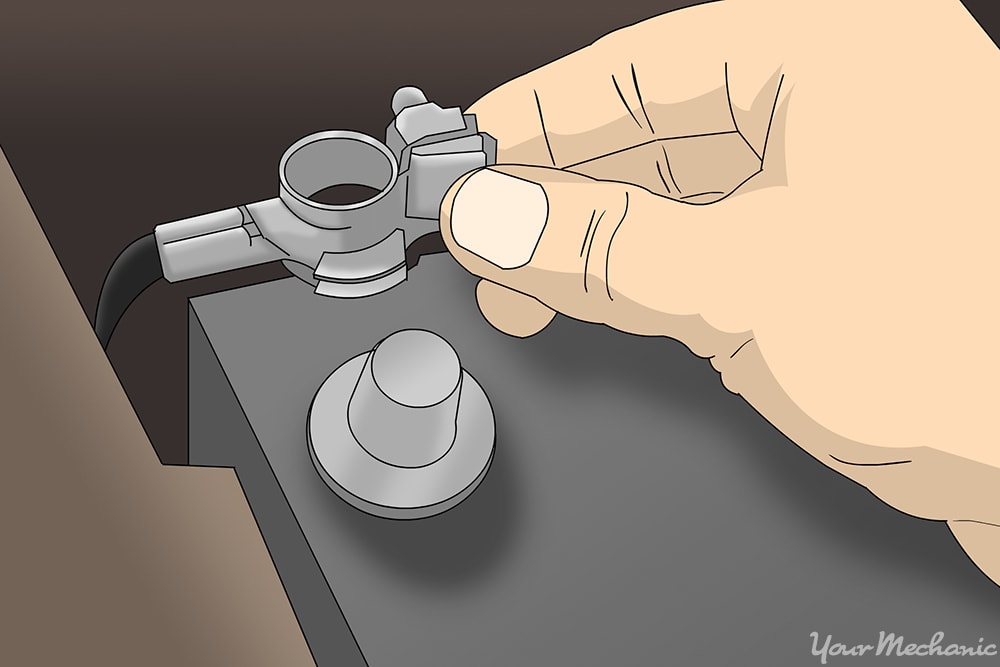
Footstep 1: Disconnect the battery. Loosen the concur down nut and bolt from the negative battery cable end and remove the connector from the battery mail service. This will forbid any shorts from damaging the electrical components.
- Tip: If the vehicle is an automatic with a shifter in the console, y'all may want to place the vehicle in low gear before disconnecting the battery to give y'all more space to work.
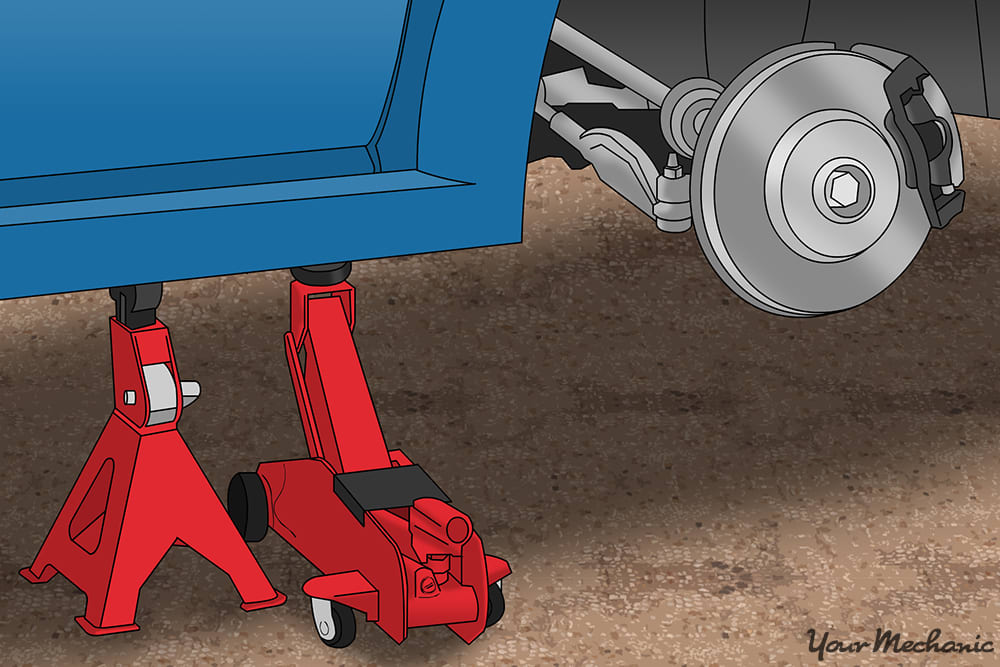
Pace 2: Enhance the vehicle. If yous tin can not easily achieve the lower radiator hose, jack the vehicle upwardly and secure information technology on jack stands to gain better access.
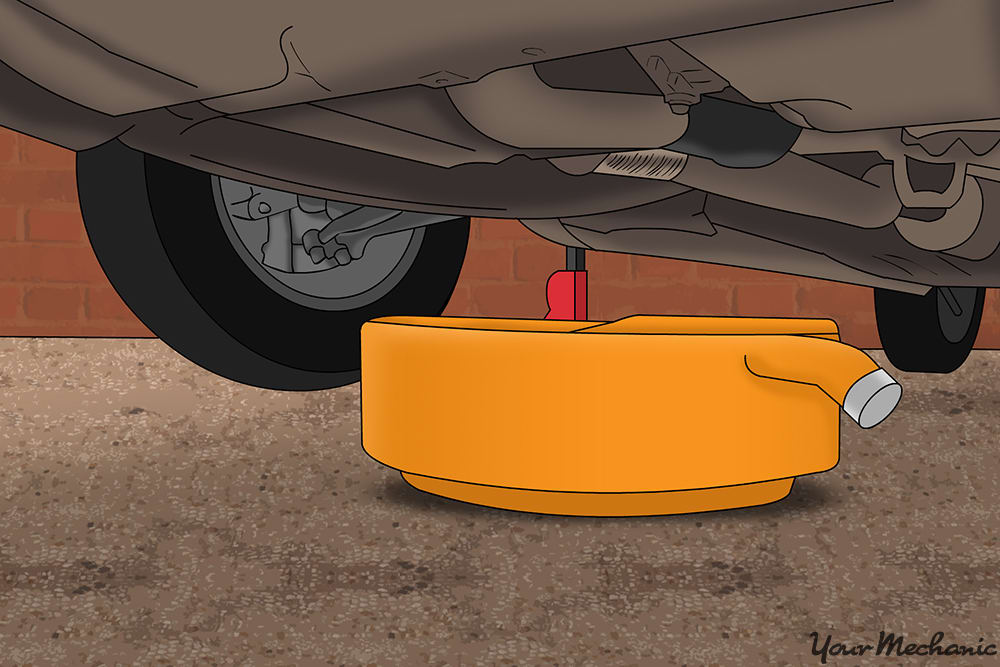
Footstep 3: Place the drain pan under the vehicle. In order to catch the coolant that will be drained, you will demand to put the bleed pan underneath the lower radiator hose.

Step 4: Remove the lower radiator hose. Remove the lower radiator hose from the radiator by showtime loosening the clamp and and so gently but firmly twisting the hose to ensure that it is not stuck on.
- Tip: Oftentimes the hose will stick as if information technology is glued in place. By twisting, you lot can suspension this bond and go far much easier to remove.
Remove the hose and drain the engine coolant into the drain pan.
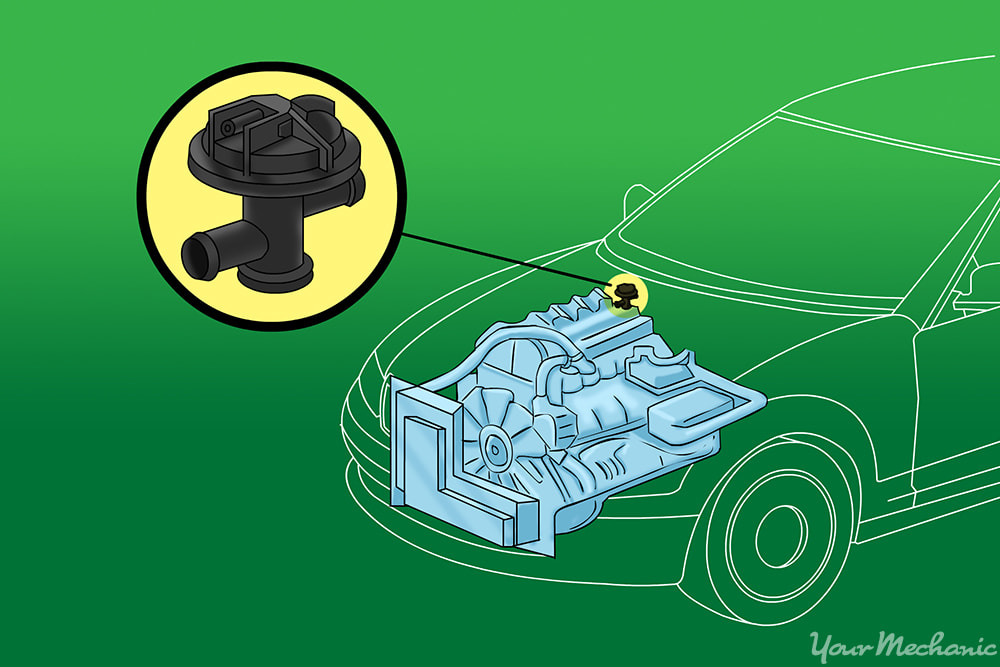
Step 5: Locate your heater command valve. Some heater control valves will exist located in the engine compartment at or most the passenger side firewall. Others are located behind the dashboard near the passenger footwell.
Refer to the mill service transmission for your vehicle to determine the exact location. In this guide, it is causeless that the command valve is located behind the dash.
- Notation: For the steps that follow, you volition need to continue referring to the factory service transmission for details about what needs to be removed and the location and number of fasteners that need to be removed also.
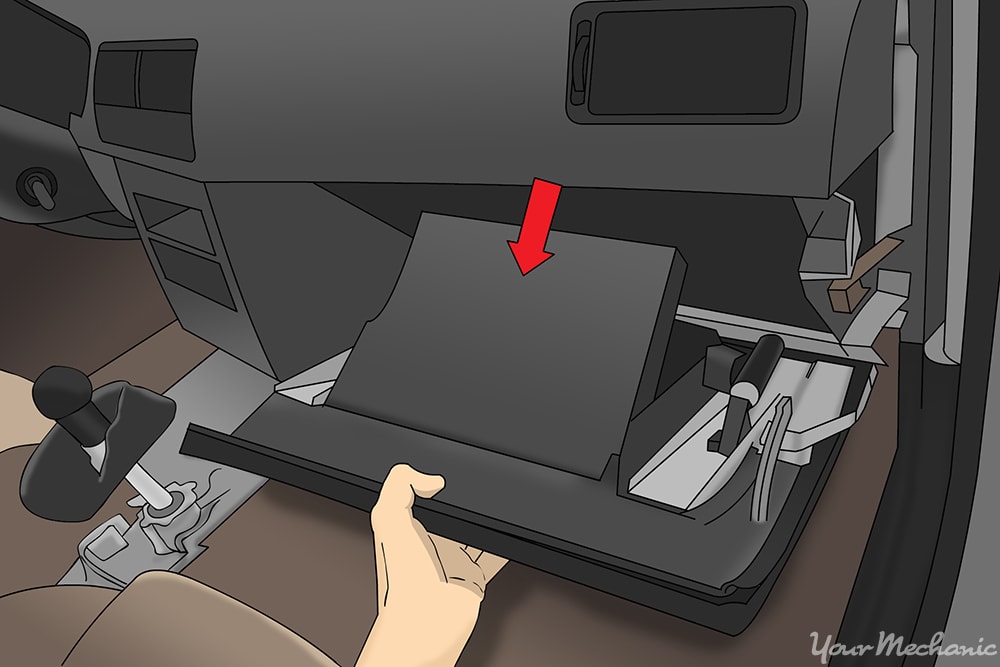
Pace half-dozen: Remove the glove box associates Open up the glove box door and locate the attachment screws located forth the outer edge of the glove box. Remove the screws with the advisable screwdriver or ratchet and socket. Gently pull on the glove box assembly to remove from nuance and disconnect any electrical connectors connected to the glove box associates.
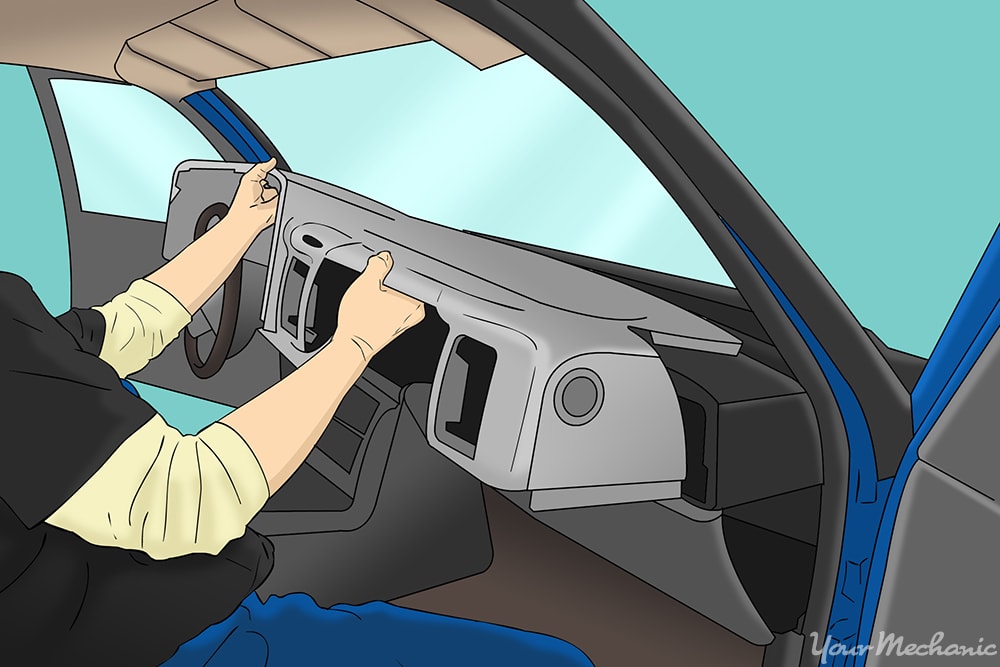
Step seven: Remove the dashboard. Locate the attachment screws, usually forth the top border and bottom edges. There may exist other fasteners on the sides, depending on vehicle pattern. Remove the zipper screws using an appropriate tool. Gently but firmly pull on the dashboard and slowly remove it, making certain to disconnect any remaining electrical connectors that may prevent you lot from removing the dashboard.
Be conscientious non to pull on whatsoever wire or control cables.
Tip: Take pictures of how the wires and cables are routed and where all the electric connectors go. Later you tin use the photos to ensure everything is put back together properly.
At this point yous may see the heater control valve, merely in some cases y'all will need to remove the heater box to gain admission.
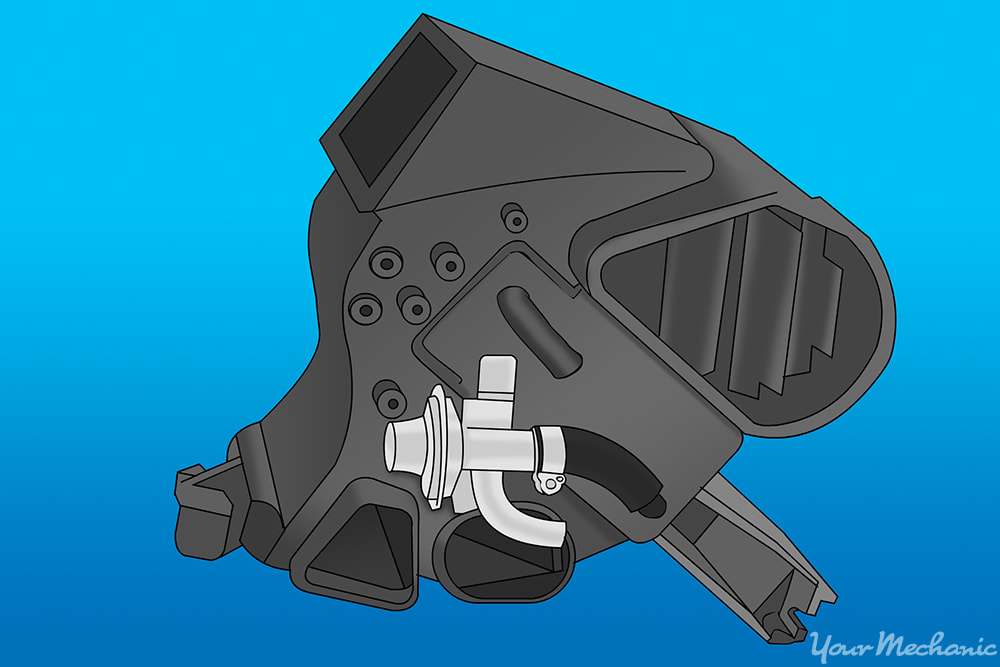
Step 8: Remove the heater control valve Locate the mounting bolts or screws that concord the heater command valve in place.
Remove the fasteners with an appropriate tool and remove the valve. Pay attending to its orientation.
Step 9: Prepare the hoses. To assist prevent leaks, thoroughly clean the interior of any hoses that were removed also as the component you are reattaching it to.
Step x: Install the new heater control valve. Install the new valve in the same position and orientation as the old valve.
Step xi: Reassemble the dashboard and glove box. Reinstall the dashboard, glove box, and any other components that were removed.
Refer to the photos yous took before if necessary.
Step 12: Replace the lower radiator hose. Reattach the lower radiator hose and tighten the hose clamp.
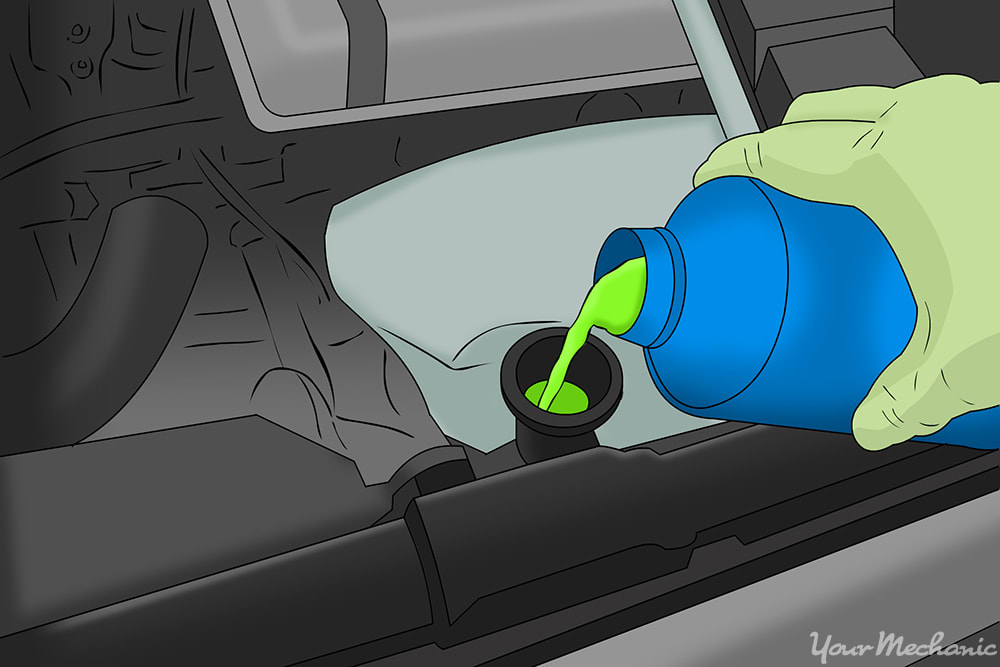
Step xiii: Refill the cooling organization. Use a fifty/50 mixture of antifreeze and distilled or demineralized h2o to refill the cooling system.
Stride xiv: Drain all the air out. To get all the air out of the cooling system, yous will need to start the vehicle, turn the heater on high, and let the vehicle to achieve normal operating temperature.
Keep topping off the coolant every bit needed until the arrangement is totally total, checking for leaks where hoses were removed and installed.
Step 15: Make clean up afterward. Dispose of the used coolant in a way that corresponds to local laws and regulations.
Each vehicle model is designed differently; therefore information technology is important to refer to the manufacturer's factory service manual for your vehicle for additional details. If you lot would like a professional person technician, such as one from YourMechanic, to replace your heater command valve for you, ane of our mobile mechanics can work on your car at your abode or role.
The statements expressed in a higher place are only for advisory purposes and should be independently verified. Please see our terms of service for more than details
Source: https://www.yourmechanic.com/article/how-to-remove-and-replace-a-heater-control-valve-by-richard-zeppetini
Posted by: bellgunfoop.blogspot.com
0 Response to "How To Change The Heater Core On A 2008 Chrysler Town And Country Van"
Post a Comment